|
Baluster Replacement Tutorial Ironwork 101: How To Remove Wood Balusters and Replace with Iron Balusters
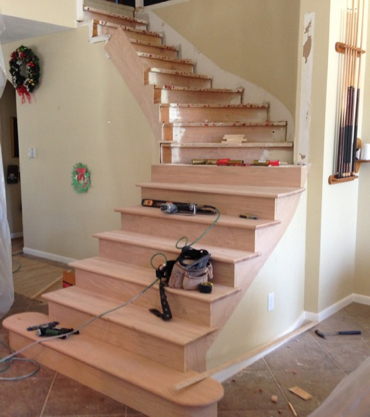
To get started, we’re going to tackle the basics to help craftsmen of all skill levels. Let’s go over the different parts of a staircase, shall we?
First we have the newel, which is also known as the center pole that serves as the support system for both the handrails of a stair banister and a spiral staircase. The handrail, or banister, is secured to the staircase to offer support for people to hold onto as they are using the stairs.
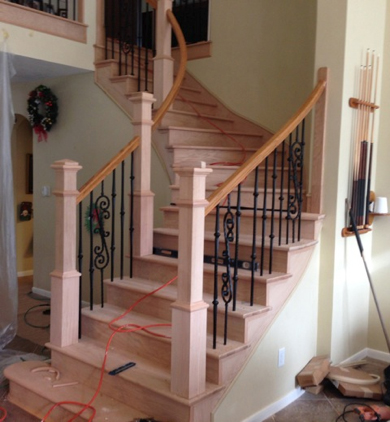
The next step involves materials. To get started, you’re going to need iron balusters that will replace your existing wooden set. At Indital USA, you can choose balusters that reflect your one-of-a-kind vision and exquisite taste. The Hammered style features eye-catching hammered corners, chiseled rough edges, and patterns that twist and turn. To take a more contemporary approach with your staircase design, our Modern or Art Deco styles point to the future while also embracing qualities of the past. From geometric accents to organic embellishments, there is a design available for every project.
In addition to the balusters, you’ll need:
 Although you will be replacing the balusters, it isn’t necessary to change the bottom post on your wooden railing. Leaving the existing post will actually allow your railing to remain as stable and durable as it was.
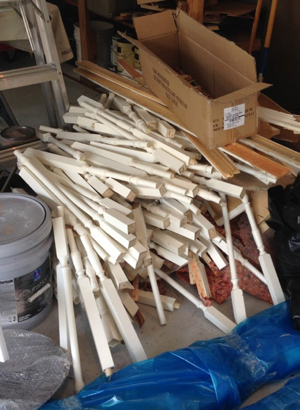
Now the fun part… Cover the surrounding furniture, and get ready to cut! Using a jig-saw or reciprocating saw, start cutting the wood balusters in the middle. Make sure to grip the existing balusters while you are cutting to avoid any damage to the railing. Once you’ve cut the wooden balusters at the center point, begin to twist and wiggle the pillars to loosen them. The balusters might be nailed or glued, depending upon the design of the staircase.
After removing and cleaning up the area, you can use your existing rail to be your guide for the spacing of the new balusters. You can also mark new placements for the rails in accordance with codes using a tape measure and a pencil.
It’s time to start drilling… It’s imperative to cut the new iron balusters approximately ½” longer than the distance from the step to the rail to accommodate the insert part of the pillar into the rail and step. Cut from the bottom to size based on the rake of the steps. Be modest when it comes to cutting and take it step-by-step. Never start cutting at the top of the baluster.
Get to gluing…
Time for your new wrought iron balusters! Once the epoxy sets, which can take around one hour, your new staircase can be revealed! Enjoy the dramatic difference iron balusters can make to the design of your home. The hard work will certainly pay off!
|