|
Glass Railing Tutorial How to install our Glass Railing System 
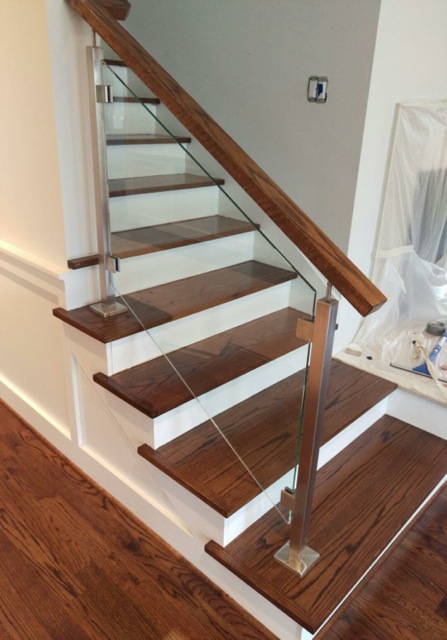
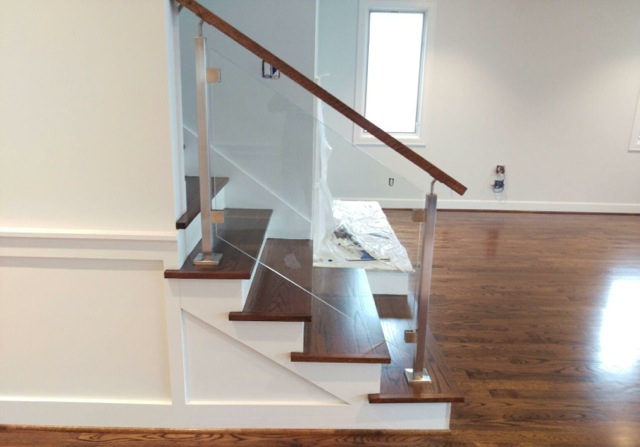
If you’re looking to install new railings in your home, switching traditional iron railings for modern glass railings can refresh and modernize your space. This home-improvement project can make a huge difference to the look and feel of an interior and is the perfect accent to any urban dwelling, downtown loft, or ocean-front property. If you are interested in taking on this DIY project, products like Indital USA’s Stainless Steel INOX Glass Railing Options were designed to make installing new railings a simple process. With all the parts and materials prepared, you’ll have your glass railings complete in just a few simple steps. This particular product line comes with many parts for various installations including handrails, handrail support, screws, end caps, newel post side mounts, rubber gaskets, glass mounts, base plate canopies, base plates, and glass panels. Each project and installation will differ in detail and of course, specifications. Step 1 The most important step in any DIY project is to check your local building and safety codes. Before you begin installing the glass panels, find out the municipal requirements to make sure your project is up to code. Step 2 It’s always helpful to map your project and draw out your plans to scale before beginning. This step is optional, but it will help with precision and make the process run more smoothly. Step 3 Measure each step to establish the fixing points. Accurate measurement will allow you to map out the points in preparation for precise drilling. 
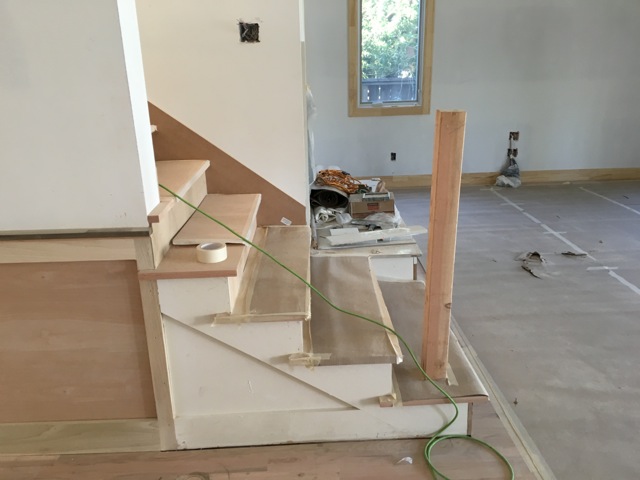
Step 4 Mark each point as you measure to prepare for drilling. You can also use a drilling template to make this process even simpler. Step 5 Drill the holes in the marked place. Step 6 Once you have drilled the holes, you will need to install the newel posts with floor anchorage. The newel post is a core element of these types of railings and Indital’s line offers a range of preassembled newel posts in a variety of different shapes and styles, drastically simplifying the installation phase of your projects. Each newel can be sized to fit your needs. Step 7 Fix the posts in place with the pieces provided and place the base plate canopies, if needed. Step 8 Once you’ve secured the newel posts, you will need to install the glass clamps with screws and a rubber gasket for each one. Clamps can be purchased in both round and square shapes to hold various dimensions of glass and stainless steel tubes. Choosing Step 9 Securely install the articulate Step 10 Next, you’ll need to install the handrails and end caps using the provided materials and pieces. Step 11 With assistance, your final step will be placing the glass panels in the clamps and securing each clamp in place. 
Once you’ve completed your project, clean your new glass panels and stainless steel railings to prepare your installation for the big reveal! |
